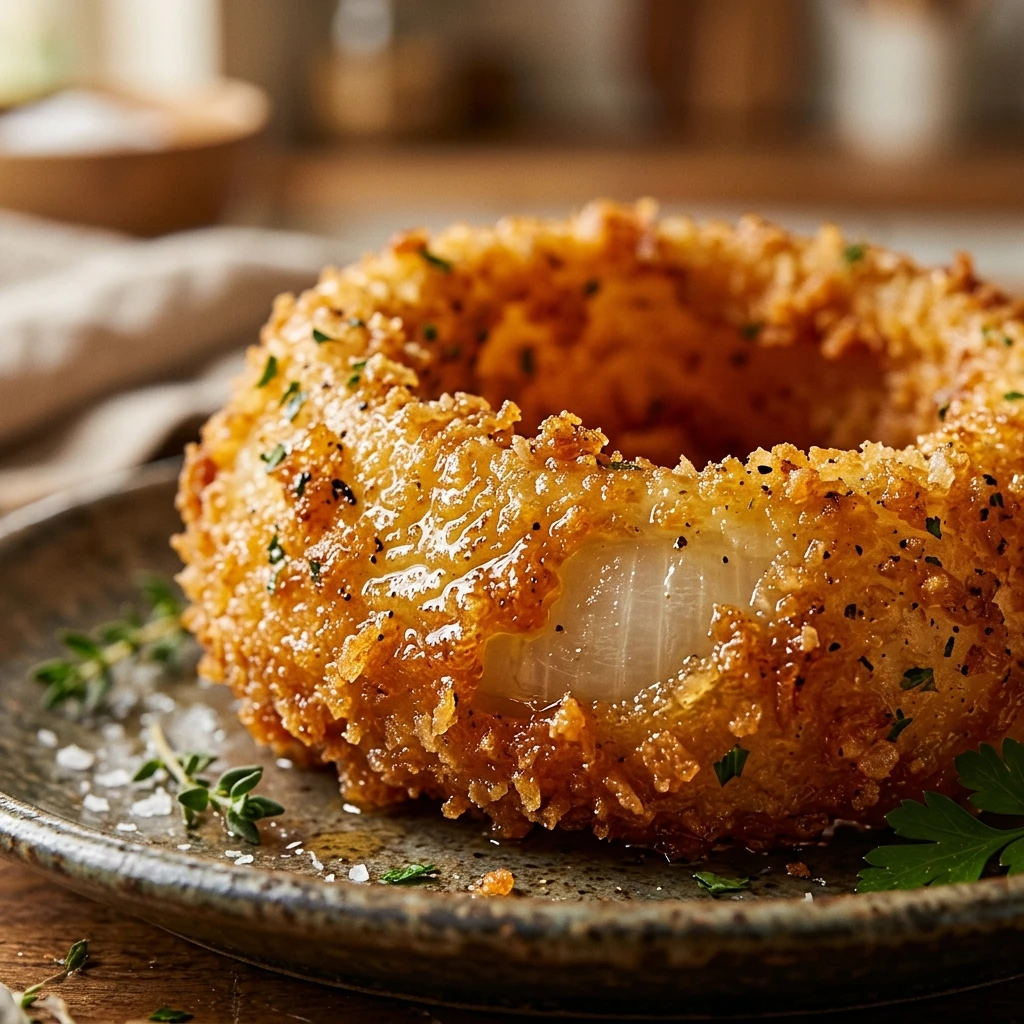

There is nothing quite like the crunch of a perfectly fried onion ring. Whether you are serving them as a side dish at a summer barbecue or enjoying them as a late-night snack, onion rings are a timeless favorite. The contrast between the sweet, tender onion and the crispy, golden-brown coating is simply irresistible.
Making onion rings at home might seem intimidating, but it is actually quite simple once you master the technique. By using a few pantry staples and following a specific coating process, you can achieve restaurant-quality results in your own kitchen. Let’s dive into how to create the ultimate crispy onion rings that will have everyone reaching for seconds.
Recipe Information
- Prep Time: 20 minutes
- Cook Time: 15 minutes
- Total Time: 35 minutes
- Servings: 4
- Difficulty Level: Medium
Nutrition Information
- Calories per serving: 380 kcal
- Protein: 6g
- Carbohydrates: 48g
- Fat: 18g
- Fiber: 3g
- Sugar: 5g
- Sodium: 550mg
Why Make This Onion Rings
These onion rings stand out because they utilize a double-coating method that ensures the batter actually stays on the onion. Many homemade recipes suffer from the “slide-off” effect, where the breading detaches after the first bite. This recipe solves that problem, giving you a sturdy, crunchy shell every single time.
Furthermore, making them at home allows you to control the quality of the oil and the thickness of the onion slices. You can customize the seasoning to your liking, adding a kick of heat or a touch of sweetness. Plus, there is nothing fresher than an onion ring that has just come out of the fryer.
How to Make Onion Rings
To get started, you will need to prepare a few different stations for coating. Creating an organized workspace is the secret to making this process mess-free and efficient. Once your onions are sliced and your batter is ready, the frying happens very quickly, so stay focused and keep your cooling rack nearby.
Ingredients
- 2 large white or yellow onions
- 1 ½ cups all-purpose flour
- 1 teaspoon baking powder
- 1 teaspoon salt
- 1 large egg
- 1 cup whole milk
- 2 cups Panko breadcrumbs
- Vegetable oil for frying (about 1 quart)
- ½ teaspoon paprika (optional for color)
Directions
Step 1: Prepare the Onions
Peel the onions and slice them into rounds about 1/2-inch thick. Gently separate the rounds into individual rings. Discard the very small inner pieces or save them for another recipe.
Step 2: Initial Flour Coating
In a medium bowl, combine the flour, baking powder, salt, and paprika. Toss the raw onion rings in this dry flour mixture until they are lightly coated. This helps the wet batter stick to the slick surface of the onion.
Step 3: Create the Batter
Whisk the egg and milk into the remaining flour mixture until the batter is smooth and free of large lumps. The consistency should be thick enough to coat the back of a spoon but thin enough to drip slowly.
Step 4: The Breading Process
Dip each flour-dusted ring into the wet batter, letting the excess drip off. Immediately place the ring into a bowl filled with Panko breadcrumbs. Press the crumbs onto the ring to ensure full coverage.
Step 5: Heat the Oil
In a high-sided skillet or deep fryer, heat about 2 inches of oil to 365°F (185°C). Use a thermometer to ensure the oil is at the correct temperature; if it is too cold, the rings will be greasy, and if it is too hot, they will burn.
Step 6: Fry Until Golden
Fry the rings in small batches for 2 to 3 minutes, turning once, until they are golden brown on both sides. Avoid overcrowding the pan as this lowers the oil temperature.
Step 7: Drain and Season
Remove the rings using a slotted spoon and place them on a wire cooling rack set over paper towels. Immediately sprinkle with a little extra salt while they are still hot.
How to Serve Onion Rings
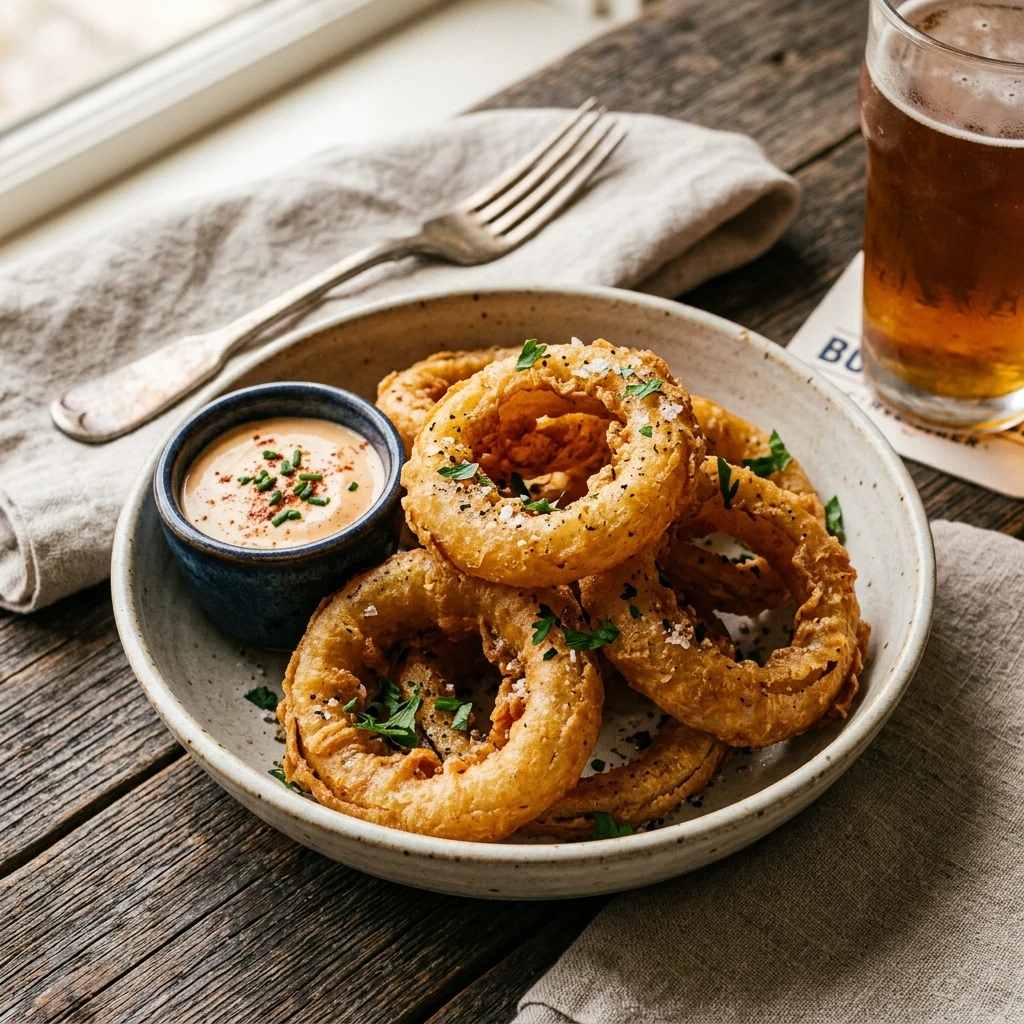
Onion rings are best served immediately while they are at their peak crispiness. They pair perfectly with classic condiments like ketchup, barbecue sauce, or a spicy chipotle mayo. For a pub-style experience, serve them alongside a juicy burger or a basket of fried fish. If you want to get creative, try dipping them in ranch dressing or a honey mustard sauce.
How to Store Onion Rings
While onion rings are best fresh, you can store leftovers in an airtight container in the refrigerator for up to two days. To revive their crunch, avoid the microwave. Instead, reheat them in an oven or air fryer at 350°F (175°C) for about 5 minutes. This helps draw out the moisture and restores the texture of the breading.
Expert Tips for Perfect Onion Rings
To get the absolute best results, try soaking your sliced onion rings in ice water for about 30 minutes before coating them. This removes some of the sharp sulfur bite and makes them sweeter. Be sure to pat them completely dry before the first flour dip. Also, keep your “wet hand” and “dry hand” separate during the breading process to prevent your fingers from becoming heavily coated in dough.
Delicious Variations
You can easily modify this recipe to suit your taste. For a “Beer Battered” version, replace the milk with your favorite lager or ale. For a spicy kick, add cayenne pepper or crushed red pepper flakes to the flour mixture. If you prefer a lighter coating, you can skip the Panko breadcrumbs entirely and just use the flour and milk batter for a “tempura-style” finish.
Frequently Asked Questions
Q: Which onions are best for onion rings?
Sweet onions like Vidalia or Walla Walla are the best choice because of their high sugar content and mild flavor. However, standard yellow or white onions work perfectly fine as well.
Q: Why does the breading fall off my onion rings?
This usually happens because the onion surface is too wet or smooth. The initial coat of dry flour is crucial because it acts as a primer, allowing the wet batter to grip the onion.
Q: Can I make these in an air fryer?
Yes! Spray the breaded rings generously with oil and air fry at 375°F (190°C) for 8-10 minutes, flipping halfway through, until golden and crispy.
Q: What is the best oil for frying?
Use an oil with a high smoke point and neutral flavor, such as vegetable oil, canola oil, or peanut oil. Avoid olive oil as it can smoke at the temperatures required for frying.
Q: How do I know if my oil is hot enough without a thermometer?
You can dip the end of a wooden spoon into the oil. If bubbles start to form around the wood and float up, the oil is likely ready. Alternatively, drop a small pinch of flour into the oil; if it sizzles immediately, you are good to go.
Conclusion
Making homemade onion rings is a rewarding experience that produces a snack far superior to any frozen variety. With their satisfying crunch and savory flavor, they are sure to be a hit at your next gathering. Follow these steps, keep an eye on your oil temperature, and enjoy the delicious results of your hard work!
Onion Rings
- Cook Time: 35 minutes
- Total Time: 35 minutes
- Diet: Vegetarian
Ingredients
- 2 large white or yellow onions
- 1 ½ cups all-purpose flour
- 1 teaspoon baking powder
- 1 teaspoon salt
- 1 large egg
- 1 cup whole milk
- 2 cups Panko breadcrumbs
- Vegetable oil for frying (about 1 quart)
- ½ teaspoon paprika (optional for color)
Instructions
- Peel the onions and slice them into rounds about 1/2-inch thick. Gently separate the rounds into individual rings. Discard the very small inner pieces or save them for another recipe.
- In a medium bowl, combine the flour, baking powder, salt, and paprika. Toss the raw onion rings in this dry flour mixture until they are lightly coated. This helps the wet batter stick to the slick surface of the onion.
- Whisk the egg and milk into the remaining flour mixture until the batter is smooth and free of large lumps. The consistency should be thick enough to coat the back of a spoon but thin enough to drip slowly.
- Dip each flour-dusted ring into the wet batter, letting the excess drip off. Immediately place the ring into a bowl filled with Panko breadcrumbs. Press the crumbs onto the ring to ensure full coverage.
- In a high-sided skillet or deep fryer, heat about 2 inches of oil to 365°F (185°C). Use a thermometer to ensure the oil is at the correct temperature; if it is too cold, the rings will be greasy, and if it is too hot, they will burn.
- Fry the rings in small batches for 2 to 3 minutes, turning once, until they are golden brown on both sides. Avoid overcrowding the pan as this lowers the oil temperature.
- Remove the rings using a slotted spoon and place them on a wire cooling rack set over paper towels. Immediately sprinkle with a little extra salt while they are still hot.