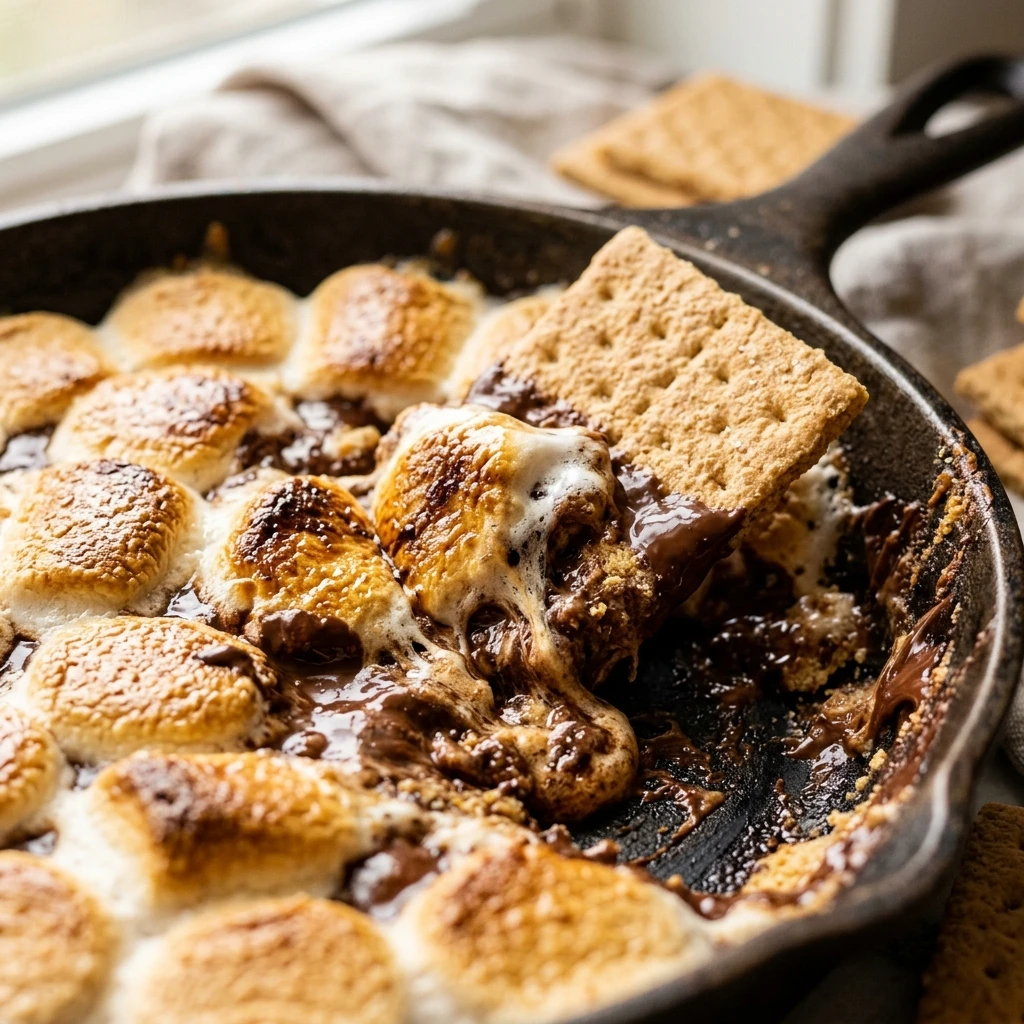
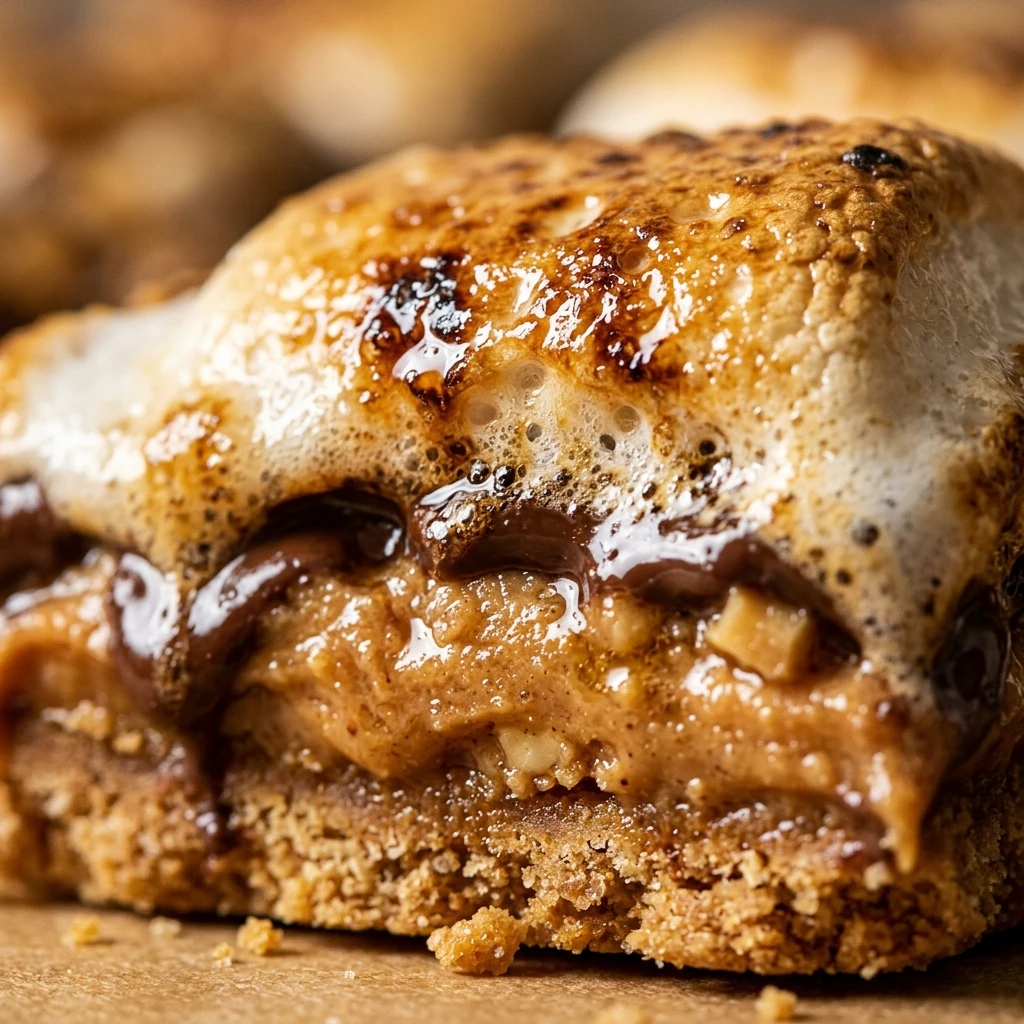

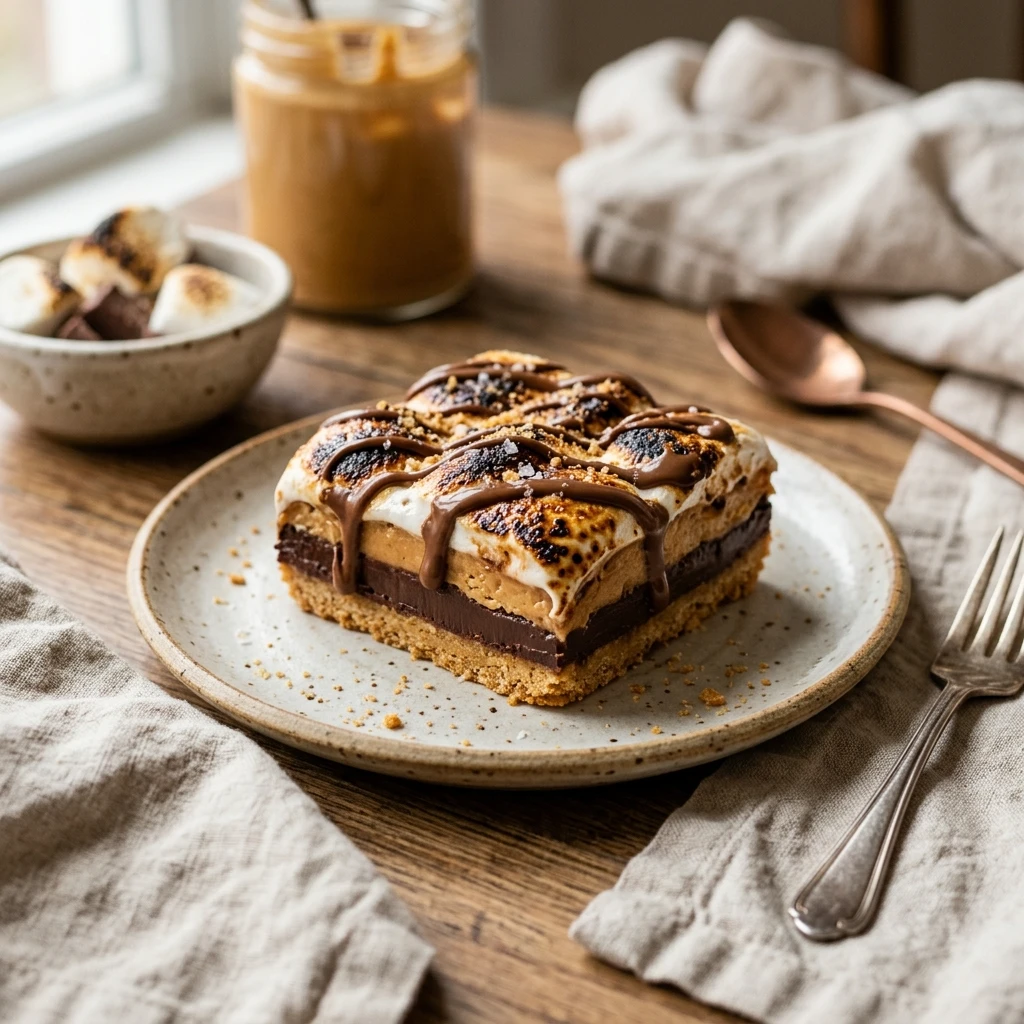
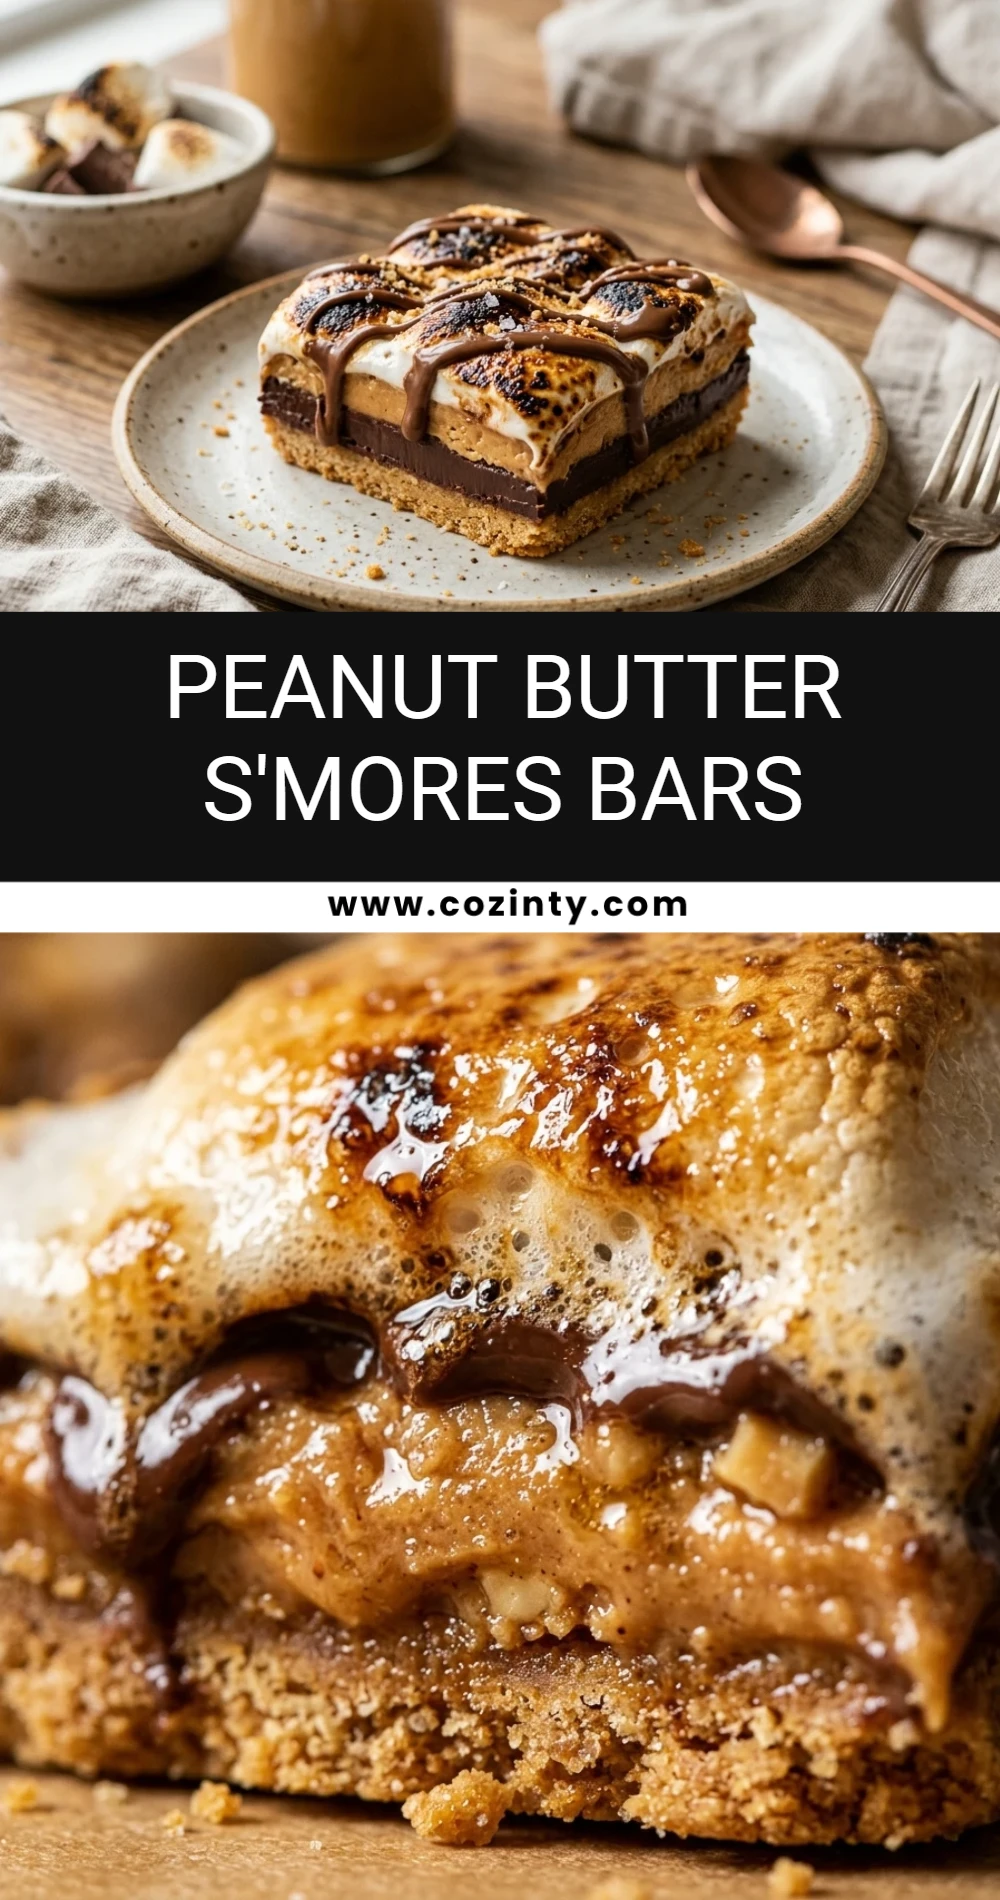
Imagine the nostalgic flavor of a campfire s’more merged with the rich, salty-sweet goodness of peanut butter. These Peanut Butter S’mores Bars are the ultimate dessert mashup. They feature a buttery graham cracker crust, a creamy peanut butter center, melted chocolate, and perfectly toasted marshmallows. It is the kind of treat that appeals to children and adults alike, bringing a bit of outdoor magic right into your kitchen.
The beauty of these bars lies in their layers. Unlike a traditional s’more which can be messy and fleeting, these bars are sturdy, decadent, and easy to share. Whether you are hosting a summer barbecue or looking for a cozy winter treat, this recipe delivers maximum satisfaction with minimal effort. You do not even need a campfire to get that signature charred marshmallow finish.
Recipe Information
- Prep Time: 15 minutes
- Cook Time: 25 minutes
- Total Time: 40 minutes
- Servings: 16 bars
- Difficulty Level: Easy
Nutrition Information
- Calories per serving: 320 kcal
- Protein: 5g
- Carbohydrates: 42g
- Fat: 16g
- Fiber: 2g
- Sugar: 28g
- Sodium: 180mg
Why Make This Peanut Butter S’mores Bars
This recipe is a game-changer for anyone who loves the combination of chocolate and peanut butter. While a standard s’more is great, the addition of a creamy peanut butter layer adds a savory depth that balances out the intense sweetness of the marshmallows and chocolate. It transforms a simple snack into a gourmet dessert bar.
Furthermore, these bars are incredibly convenient. You can make a large batch all at once in a single baking pan, making them perfect for potlucks, school bake sales, or family gatherings. They store well and actually taste even better the next day once the flavors have had time to meld together and the crust has set firmly.
How to Make Peanut Butter S’mores Bars
Gather your ingredients and get ready to build layers of deliciousness. The process is straightforward, moving from a crisp base to a gooey topping in just a few simple steps. Follow this guide to ensure your bars come out perfectly every single time.
Ingredients
- 1 1/2 cups graham cracker crumbs
- 1/2 cup unsalted butter, melted
- 1/4 cup granulated sugar
- 1 cup creamy peanut butter
- 1 1/2 cups semi-sweet chocolate chips
- 3 cups mini marshmallows
- 1/2 cup graham cracker pieces (for topping)
- 1/4 teaspoon sea salt (optional)
Directions
Step 1: Preheat and Prepare
Preheat your oven to 350°F (175°C). Line an 8×8 inch square baking pan with parchment paper, ensuring there is a little overhang on the sides so you can easily lift the bars out later.
Step 2: Mix the Graham Cracker Crust
In a medium-sized mixing bowl, combine the graham cracker crumbs, melted butter, and granulated sugar. Stir until the mixture resembles wet sand and the crumbs are evenly coated with butter.
Step 3: Press the Base
Transfer the crumb mixture to the prepared baking pan. Use the bottom of a measuring cup or your fingers to press the mixture firmly and evenly into the bottom of the pan to create a solid crust.
Step 4: Add the Peanut Butter Layer
If your peanut butter is stiff, microwave it for 15-20 seconds until it is slightly pourable. Spread the peanut butter evenly over the graham cracker crust, leaving a tiny margin around the edges.
Step 5: Layer Chocolate and Marshmallows
Sprinkle the semi-sweet chocolate chips evenly over the peanut butter layer. Follow this with a dense layer of mini marshmallows. Sprinkle the broken graham cracker pieces and sea salt on top for added texture.
Step 6: Bake and Brown
Place the pan in the oven and bake for 20 to 25 minutes. The marshmallows should be puffed up and toasted to a beautiful golden brown. If you prefer them darker, you can broil them for the last 30 seconds, but watch them very closely!
Step 7: Cool and Slice
Remove from the oven and let the bars cool completely in the pan on a wire rack. This is the hardest part, but cooling is essential for the layers to set so you can cut clean squares. Once cool, lift the parchment paper to remove the block and slice into 16 bars.
How to Serve Peanut Butter S’mores Bars
These bars are best served at room temperature. For a fancy touch, you can drizzle a little extra melted chocolate or a swirl of melted peanut butter over the top before serving. If you want to lean into the campfire theme, serve them alongside a glass of cold milk or a hot cup of cocoa. They also make a fantastic base for a sundae when served warm with a scoop of vanilla ice cream.
How to Store Peanut Butter S’mores Bars
To keep these bars fresh, store them in an airtight container at room temperature for up to 4 days. If your kitchen is very warm, you may want to keep them in the refrigerator to prevent the chocolate and peanut butter from becoming too soft. They can also be frozen for up to 3 months; just make sure to wrap them tightly in plastic wrap and then foil before placing them in a freezer bag.
Expert Tips for Perfect Peanut Butter S’mores Bars
One of the best tips for this recipe is to use a hot knife to slice the bars. Dip your knife in hot water and wipe it dry between each cut; this prevents the marshmallows and chocolate from sticking to the blade. Also, avoid using “natural” peanut butter that separates, as the excess oil can make the crust soggy. Stick to a standard creamy commercial brand for the best structural results.
Delicious Variations
If you want to change things up, try using Reese’s Peanut Butter Cups instead of chocolate chips for an even more intense peanut butter flavor. You can also swap the graham cracker crumbs for crushed digestive biscuits or even Oreo crumbs for a “cookies and cream” s’mores twist. For a salty-sweet variation, add a layer of pretzel pieces on top of the marshmallows before baking.
Frequently Asked Questions
Q: Can I make these Peanut Butter S’mores Bars gluten-free?
Yes, simply substitute the graham cracker crumbs with your favorite gluten-free graham cracker brand. Most other ingredients are naturally gluten-free, but always check your labels.
Q: Can I use marshmallow fluff instead of mini marshmallows?
You can, but the texture will be much stickier and fluff does not “toast” the same way in the oven. If you use fluff, spread it over the chocolate chips and bake as usual.
Q: How do I prevent the crust from crumbling?
The key is to press the crumbs down as firmly as possible. Using the flat bottom of a glass or a measuring cup helps apply even pressure to create a compact base.
Q: Can I use dark chocolate instead of semi-sweet?
Absolutely! Dark chocolate provides a lovely bitterness that cuts through the sweetness of the marshmallows and peanut butter beautifully.
Q: Do I need to refrigerate these bars to set them?
While room temperature cooling is usually enough, placing the pan in the fridge for 30 minutes after they have reached room temperature can help you get much cleaner cuts.
Conclusion
Peanut Butter S’mores Bars are the ultimate crowd-pleasing dessert that combines the best of all worlds: crunchy, creamy, chocolatey, and gooey. They are simple to prepare and require no special equipment, making them an ideal recipe for busy bakers. Give this recipe a try for your next gathering, and watch as they disappear in minutes!
Peanut Butter S’mores Bars
- Cook Time: 40 minutes
- Total Time: 40 minutes
- Diet: Vegetarian
Ingredients
- 1 1/2 cups graham cracker crumbs
- 1/2 cup unsalted butter, melted
- 1/4 cup granulated sugar
- 1 cup creamy peanut butter
- 1 1/2 cups semi-sweet chocolate chips
- 3 cups mini marshmallows
- 1/2 cup graham cracker pieces (for topping)
- 1/4 teaspoon sea salt (optional)
Instructions
- Step 1: Preheat and Prepare
Preheat your oven to 350°F (175°C). Line an 8×8 inch square baking pan with parchment paper, ensuring there is a little overhang on the sides so you can easily lift the bars out later.
- Step 2: Mix the Graham Cracker Crust
In a medium-sized mixing bowl, combine the graham cracker crumbs, melted butter, and granulated sugar. Stir until the mixture resembles wet sand and the crumbs are evenly coated with butter.
- Step 3: Press the Base
Transfer the crumb mixture to the prepared baking pan. Use the bottom of a measuring cup or your fingers to press the mixture firmly and evenly into the bottom of the pan to create a solid crust.
- Step 4: Add the Peanut Butter Layer
If your peanut butter is stiff, microwave it for 15-20 seconds until it is slightly pourable. Spread the peanut butter evenly over the graham cracker crust, leaving a tiny margin around the edges.
- Step 5: Layer Chocolate and Marshmallows
Sprinkle the semi-sweet chocolate chips evenly over the peanut butter layer. Follow this with a dense layer of mini marshmallows. Sprinkle the broken graham cracker pieces and sea salt on top for added texture.
- Step 6: Bake and Brown
Place the pan in the oven and bake for 20 to 25 minutes. The marshmallows should be puffed up and toasted to a beautiful golden brown. If you prefer them darker, you can broil them for the last 30 seconds, but watch them very closely!
- Step 7: Cool and Slice
Remove from the oven and let the bars cool completely in the pan on a wire rack. This is the hardest part, but cooling is essential for the layers to set so you can cut clean squares. Once cool, lift the parchment paper to remove the block and slice into 16 bars.